Plans To Assemble 12x14 Lean To Outbuilding: Things To Ponder When Creating A Garden Shed

Install the trusses with help of a boom truck operator and two assistants, lowering trusses into position, nailing them to the hurricane ties and bracing them with two-by-fours until roof sheathing is in place. The front and back overhangs highlight neat designs and protect walls from heavy precipitations. It's sheeting that typically stiffens up a building. The walls are just standard 2x4 timber on 16inch centers (https://shedconstructionplans.com/8x8-garden-shed-building-plans-blueprints) with noggins half way up. Cut a third 2 x 8 mudsill to fit along tops of the center row of foundation blocks. Then install the asphalt shingles starting with bottom of the roof.
Building trusses on site is easily done for a shed. If you want to follow project costs, you can keep an eye on a budget worksheet here. In order to get the job done like a pro, you should craft all the trusses equal, otherwise roof won't have a symmetrical look. We're fortunate to have a relatively large backyard. You'll install them after the gable end is complete and the remaining posts are set. Repeat this step and install the beam at opposite side of the structure. Attaching the wooden sill to the steel could be troublesome. You may also want to add some exterior features that create your shed look even better on outside, such as decorative trim, shutters and a nice paint job.
A string level and line can be used for establishing these final pole heights, or you could use a girt, held in place and level, to mark locations. In addition, use a professional saw to adjust the components to their size. To create these cuts one could use simple trigonometry, construction calculator, on line (visit this site) calcs or even phone apps can do the math for you. Never build on a site that collects standing water. We then added three 12' 2x4's front to back to support a temporary plastic roof and framed in doorway. This is the measurement of your floor width.
The one good thing is that once you have decided on roof pitch all you have to do is built the first truss and use it to assemble a jig you can use to build the rest of trusses so that they all match. Space the purlin braces not more than 4 feet apart. Hurricane clips are a metal bracket designed to fasten to the rafter header and rafter while holding everything properly square. The total height of the planks and stakes should come to the height of base that you decided earlier. Once the piers have cured, beams can be set in place on the piers and leveled with shims.
Roofs have come a long way since early man put sticks over the entrance to his cave and mudded them in place with wet clay. Add a few hinges and hold-open hardware and you've got an inexpensive, nice-looking window. The gravel pad should extend a foot or two beyond sides of your shed too. To avoid any problems, we wheelbarrowed all our concrete to back yard from foot of driveway. If you don't get a permit when you need one, they could you take it down or charge you fines. The size of outbuilding and number of windows and doors affect your choice.
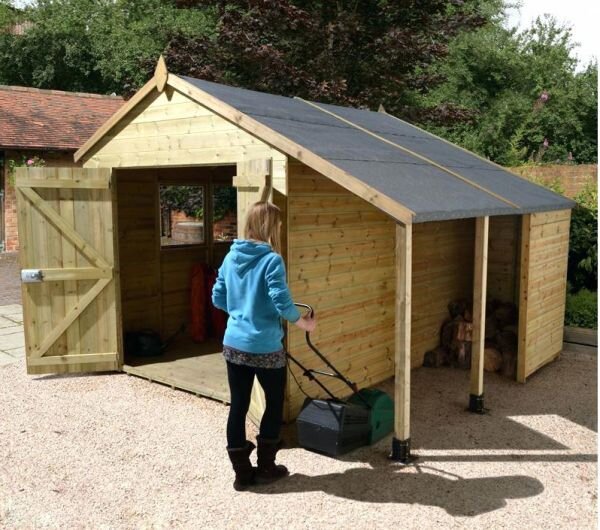
One teacher saw it and thought it would a nice children's structure, with a door and windows trim to simulate a house while anyone could climb sides as a ladder. Joists that span 8 feet are acceptable but may experience some bounce. Also, always follow proper safety measures when working around construction tools, ladders and when climbing and working on the roof. But with the screws on ridges of sheeting, even if the gasket isn't tight, water tends to run down into troughs, so very little water gets in. We used leftover synthetic deck boards from a prior job and spaced floorboards 2-inches apart to facilitate airflow, rain drainage and drying of the firewood.
Remove the sections of joist at each end. Not only would a good set of schematics help to guide you to completion of a successful project, they are likely to be required by your local planning commission. B is distance from the top of your walls top plate to inside of your roof peak. Place the posts over cinder blocks and ensure that they are level using a 4-foot level or any size of level for that matter. Lug the shed into position, add a piece of flashing to cover nail holes in the shingle at back and to prevent water going down gap between outbuilding and wall, and add a latch.